
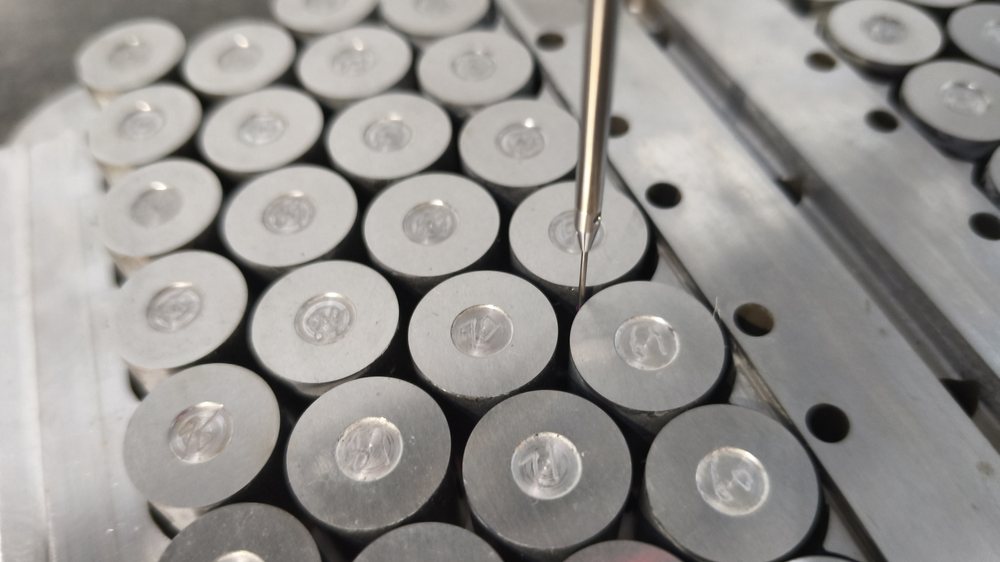
The insert molding process joins metal inserts, threaded parts, or other prepared components with molten resin in one controlled cycle, so the finished plastic part emerges with stronger mechanical features and less secondary assembly. When the insert molding process is planned well, the main gains are better alignment, fewer loose fasteners, cleaner part geometry, and a tighter path from tooling to inspection.
What the Insert Molding Process Needs to Control
The insert molding process begins with part geometry, insert shape, and the way the insert will sit inside the cavity. If the insert shifts during clamping or fill, the part can lose concentricity, create flash around the insert, or trap air where the resin should bond cleanly.
This is why insert molding works best when the team plans the part around the molding cycle instead of adding the insert as an afterthought. Material flow, heat transfer, draft direction, and ejection all need to support the insert location from the first drawing stage.
Maidder supports this kind of planning through its design and tooling capabilities, so the insert position, cavity detail, and mold structure can be developed together instead of being forced into separate decisions.
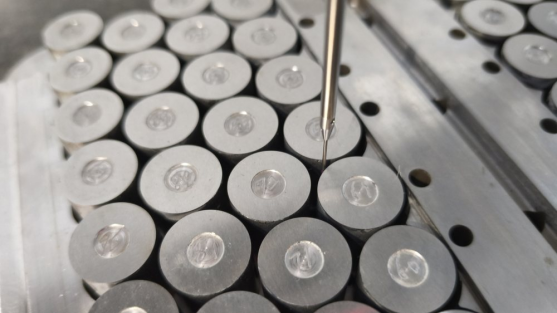
How the Insert Molding Process Runs
Insert Loading and Location Control
First, the insert has to be loaded into the correct position before being injected. The method used will depend on whether it’s done manually, using a fixture, or with an automated machine, but it always comes down to one thing: the insert has to remain stable while the mold closes and the cavity seals up.
The location of the insert is crucial since even a slight misalignment can affect the wall thickness, the balance of the gates, and how the resin surrounds the insert. Having a stable clamping system and repeatable load positioning will minimize the variability.
Resin Flow, Bonding, and Cooling
Once the mold is closed, the melt flows around the insert and fills the rest of the cavity. Proper wetting of the insert wall is important to create a strong mechanical lock, and proper venting ensures that no air bubbles weaken the bond strength or leave burns around the edge of the insert.
Another important consideration for cooling is that the shrinkage rate of the insert material may differ from that of the resin. Inadequate cooling can lead to excessive stress inside the component that manifests itself as warpage, stress whitening, or poor interfacial adhesion.
Tooling Design That Keeps Inserts Stable
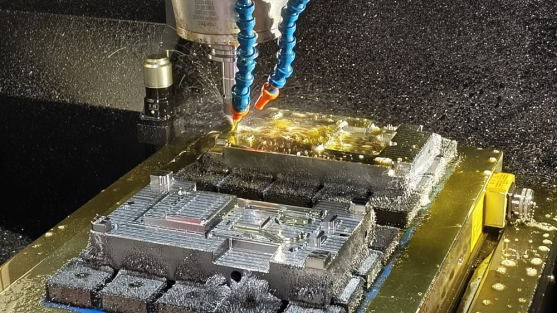
Tooling for insert molding usually needs more than a standard cavity. It may require strong location features, guide support, insertion clearance, and venting paths that protect the insert while still letting resin flow evenly into the cavity.
Maidder's tooling capability includes an in-house tool room, high-speed CNC machining, spark erosion, aluminium prototype tools, P20 tools, fully hardened multi-cavity tools, and valve gate hot runner systems. That range is useful because insert molding process control often depends on whether the tool is being used for early validation or repeat production.
However, if an insert is sensitive, the interaction between the insert seat and the mold surface is very important in order not to scratch, rotate, or distort the part while the insert goes in and out. The precision tool will always ensure that the insert stays in one place for all the cycles.
Material Selection for Insert Molding
Material choice changes how the insert molding process behaves. PC, ABS, PP, TPE, POM, and Nylon each bring different shrinkage, stiffness, flow, and bonding behavior, so the resin should be matched to the insert shape and the final use of the part.
The filled or blended type of material enhances the rigidity or abrasion resistance; however, it can affect the surface finish or induce additional stresses at the insert. It will depend upon the application requirements for appearance, strength, insulation, or assembly/reassembly that dictate the proper selection.
Maidder's moulding also includes vertical moulding for inserts, which is especially helpful when gravity, part orientation, or manual loading makes stable insert placement easier to control during production.
Quality Control for Insert Molded Parts
Quality control should check both the visible surface and the hidden bond around the insert. A part may look acceptable on the outside while still having weak anchoring, poor concentricity, or excessive stress around the metal or molded-in component.
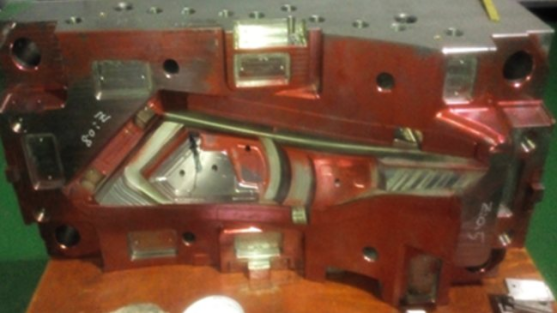
Maidder's quality capability includes CMM, optical measuring equipment, Minitab, Component DFM, APQP, MSA, FMEA, PPAP, process capability analysis, and functional and dimensional assessment. Those tools are useful because insert-molded parts often need repeatable measurements around the insert seat, not just a quick visual check.
A practical inspection plan looks at insert position, pull strength where relevant, flash, sink around the insert, and the overall part envelope. When the process is stable, the bond line stays clean, the insert remains centered, and the part is ready for downstream assembly without correction work.
Where Maidder Fits in Insert Molding Projects
Maidder fits insert moulding projects that need the same team to think through product design, tooling, moulding, and quality control. That matters when the part has threaded hardware, embedded metal, or a geometry that only stays reliable if the mold and the resin are matched carefully.
We also support assembly, packaging, ultrasonic welding, and OEM Cambodia production lines, making the process easier if the insert-molded part is incorporated into a larger final product. This can make a challenging part an easily repeatable process for those developing plastic parts to specification.
Conclusion
A strong insert molding process is built on stable insert location, balanced resin flow, suitable tooling, and measured quality checks. When those elements are designed together, the result is a cleaner part, fewer secondary steps, and a more reliable path from sample to production.
For OEM plastic parts that need insert molding process control from tooling through inspection, Maidder offers a practical manufacturing path that keeps the insert, the resin, and the finished part working as one system.
Connect us when your next plastic part needs stronger molded-in features and a tighter production flow.
FAQ
Q: What makes the insert molding process different from standard injection molding?
A: Insert molding involves inserting an already prepared insert into the mold before the resin injection; hence, the end result has the insert and the plastic part. While injection molding only produces the plastic part, insert molding requires additional considerations of insert placement and heat transfer.
Q: Why is vertical molding for inserts useful?
A: Vertical molding for inserts can help hold the insert in a stable position during loading and closing, especially when gravity or part shape makes horizontal placement less secure. It can improve repeatability and reduce movement, which helps protect bond quality and cavity alignment
Q: What quality checks matter most for insert molded parts?
A: The most important checks are insert position, surface flash, sink around the insert, dimensional stability, and any required functional performance. CMM or optical measurement is useful when the insert location affects assembly, sealing, or load-bearing behavior.
